The Sundered Doctrine dungeon takes Destiny 2 players back to Rhulk’s Pyramid for more monsters, more riddles, and most importantly, more loot.
Veterans of the Vow of the Disciple raid will recognise the mechanics here, albeit with any fresh twists.
Sundered Doctrine is on the shorter side as far as dungeons go, with just 3 encounters and 2 not-so-tough boss fights. Provided you can get your head around memorising all those symbols, you should have no problem completing Sundered Doctrine — and if you’re lucky, receive the Finality’s Auger exotic fusion firearm while you’re at it.
How to start Sundered Doctrine
Before we begin, there’s a bit of admin to take care of first. To start Sundered Doctrine, you’ll first request to chat to Ikora in the Tower. She will give you a quest, “The Drowning Labyrinth” which unlocks access to the dungeon. Now, you just request to head to the Savathun’s Throne planet section of the map, and find the Sundered Doctrine node in the top left, beside the Vow of the Disciple raid.
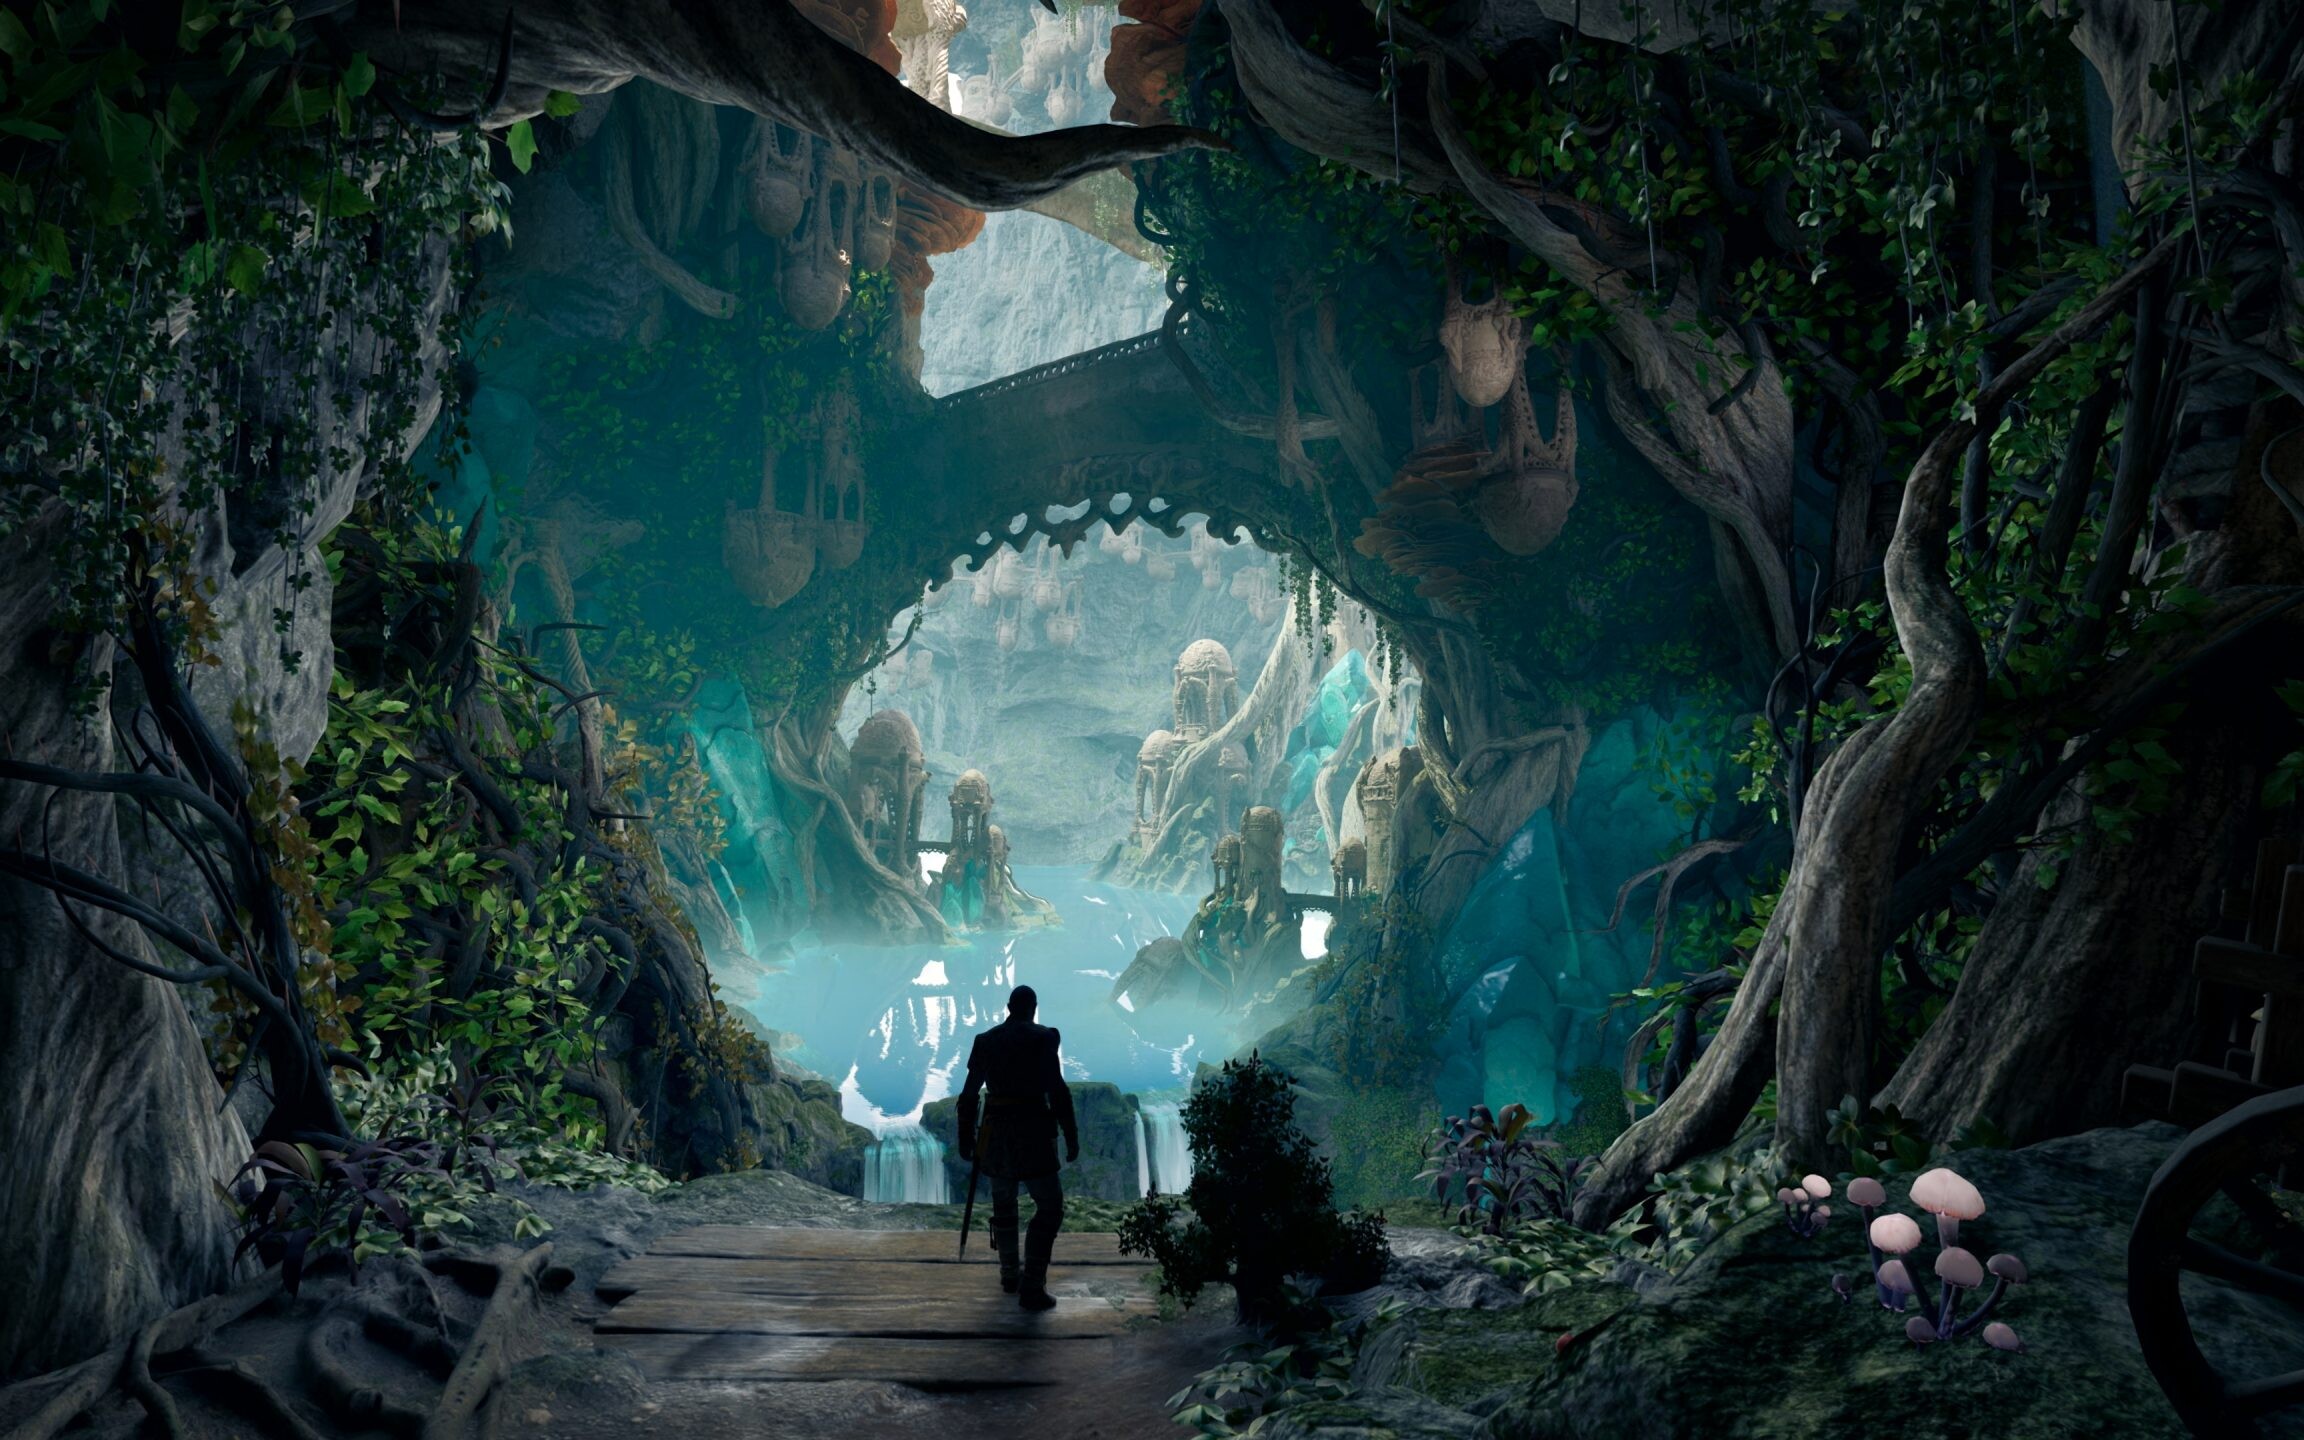
Once you burden in, you’ll have a bit of a trek to get to the first encounter. proceed forward and you’ll come to a large gap, with a bridge crossing it to your left. Take the bridge across, then jump up to the ledge on the left. Take the first right and drop down; you’ll enter a series of rooms with enemies to deal with.

Image: Bungie via Polygon
Take out the Attendants and the Subjugators, then proceed forward. In the back-left corner of the second corridor, you’ll place a large rectangle jutting out from the wall at a unusual angle. Jump on it, and it will lower down, allowing you to pass through.
You’ll now be in a tight space with respective ways to drop down. There’s nothing untoward here — you simply request to make your way down to the bottom. You’ll then appear into a large, cross-shaped area with enemies to take out. erstwhile you clear the way, look for a tiny waterfall. From where you enter, go consecutive ahead and you’ll find it on the right side.
Go under the waterfall, and follow the way down to the first appropriate encounter of the dungeon.
First Encounter, Flooded Inspection

Image: Bungie via Polygon
This first encounter primarily consists of 2 things: memorising symbols and directing light beams. You’ll begin by entering the central chamber, with 3 lenses in the centre and a symbol wheel above the back of the room. There are 3 symbol slots on the wheel, but 1 is empty. The nonsubjective is to find the missing symbol and connect a light beam to it.
The layout and how it works

Image: Bungie via Polygon
Let’s start breaking this down. There are four rooms around the central chamber. 2 on the left, and 2 on the right. Each area has its own symbol wheel, and each wheel has just 1 symbol on it. To find which symbol you need, you’ll request to find the Truthspeaker.
In just 1 of the 4 rooms, a Grim labelled the Truthspeaker will spawn. erstwhile you kill it, it will drop a symbol, that is the symbol you request to link the light beam to.
Your next step is to find the correct symbol. It will be on 1 of the wheels in 1 of the 4 rooms. erstwhile you find it, you’ll request to link the light from the central area to the wheel. To do so, you’ll first request to shoot the shard above 1 of the 3 lenses in the central area to make it produce a beam of light.
You then request to make a chain of light through various lenses from here to the correct symbol wheel. The 3 in the central area are ready to go, but many of the another lenses are missing.
Each of the 4 rooms will spawn a Lens Bearer Subjugator. Kill one, and it will drop a lens that you can choice up. Bring the lens to 1 of the empty slots around the encounter area and you can place it there. erstwhile placed, a lens can be rotated to 1 of a fewer predetermined angles. You can look at the base of the lens to see which directions the light can go.

Image: Bungie via Polygon
This may seem like a lot in writing, but it is beautiful simple in practice. The order of operations goes like this:
- Search each area for a Truthspeaker to find your missing symbol
- Locate the symbol on 1 of the 4 wheels
- Follow the way from that wheel back to the central room, noting which lenses are missing along the way
- Activate the closest light in the central room, then catch lenses from the Lens Bearers as needed
- Create a chain of light that links the central area to the correct wheel
Once you make the correct chain, you’ll get a notification that says “The Pyramid accepts a truth”, meaning you have completed the objective. After you complete the first chain, return to the central area and you’ll see that 2 symbols are now missing from the wheel. For the second round, you’ll request to link 2 symbols.
The method is identical; find the Truthspeaker to get your symbol, catch lenses from Lens Bearers, and make the chain. erstwhile you complete the first one, a second Truthspeaker will spawn to give you your second symbol. Repeat the process, and erstwhile you have the 2 symbols linked, the second circular is complete.
This may come as a shock, but for the 3rd round, you’ll request to link 3 symbols. No changes here, just repeat the steps you have been following so far. In total, you’ll gotta make six links to complete this encounter.
Sundered Doctrine maze route

Image: Bungie via Polygon
With the first encounter completed, a door will open in the central room, leading to the next encounter. Unfortunately, there is simply a bit of a maze and any traps ahead that would give Indiana Jones a run for his money. While it can be easy to get turned around in the maze, thankfully you can’t get besides lost.
When you go through the door, you’ll immediately come to any stairs leading to a locked door. Drop off either side of the stairs, and make your way down to the bottom. proceed forward, and you’ll come to a hole, and drop down again. This brings you into the small maze.
At the first junction, turn right and go consecutive to the end. Drop down, then look to your right. Take the first left down this corridor, go up the stairs and follow this way to exit the maze.

Image: Bungie via Polygon
The next part is simply a massive open area with any enemies to deal with. No tricks here, just make your way past the enemies and cross the bridge to the right. Through here, you’ll find a long and dark hallway. Go down it, but stop at the second exit on the left, you’ll find another gap to drop down through.

Image: Bungie via Polygon
This will bring you to a long area with a pit moving through the middle. Stay on the side you enter on, walk to the far end, and look across and down. You’ll see a tiny beginning below the other ledge. Walk through this tiny passageway and appear into what seems to be an ancient Peruvian temple, with less golden idols and more boulders.
The boulder section is reasonably simple, you simply request to usage the safe spaces on either side to avoid the giant ball of spikes rolling towards you. You don’t request to go all the way up the hill either — there is simply a gap about halfway up it, and that is your way forward. Through here, you just request to avoid any crisscrossing boulders and make your way down to the door to the second encounter.
Second Encounter, Altered Convolution and Zoetic Lockset
The second encounter has 2 parts — beginning the door, and the Zoetic Lockset.

Image: Bungie via Polygon
The door into the second encounter of Sundered Doctrine is simply a tiny test, set to teach you the mechanics you request to know. You’ll enter a area with symbol wheels on either side, enemies throughout, and a door ahead with a symbol on either side of it. You request to item those symbols on each of the wheels in order to open the door.
To do this, take down 1 of the Perceptor Wizards and catch the item it drops. This will give you Heightened Knowledge, which you can usage to decision the item on the symbol wheel 1 space. You can decision it clockwise or counterclockwise, depending on which way the interior wheel is spinning. To change the rotation, simply shoot the shard above the wheel.
You can gather more cognition from the Perceptors, up to 3 at once. This is all very applicable for the encounter ahead, so make certain you get to grips with this system.
- As mentioned, a single stack gives you Heightened Knowledge, which moves the symbol 1 space.
- Two stacks gives you Brimming Knowledge, which will decision the symbol 2 spaces.
- Finally, Overflowing cognition will decision it 3 spaces.
Once you item the correct symbols, the door ahead will open. Go through it to enter the second encounter room. Here you’ll find the Zoetic Lockset, a group of 4 Hive Shriekers along the back of the room. There are 4 blank signs in front of them, and 4 symbol wheels throughout the room.
Defeating the Zoetic Lockset

Image: Bungie via Polygon
This encounter is more art than science, as there is no rigid method for completing it. Put simply, the highlighted symbols on each of the wheels origin different, circumstantial effects. The Zoetic Lockset will cycle through those effects throughout the fight, and you request to usage this to your advantage. From our investigating and research, the symbols appear to have the following effects:
- Hive – Spawns Ogres
- Knowledge – Spawns Knights
- Commune – Shriekers launch Darkness seekers
- Stop – Temporarily prevents enemies from spawning
- Kill – Begin the harm phase
It goes without saying, Kill is the symbol we want to focus on. However, there is an order to this, and jumping the queue can have unpleasant consequences. The Shriekers cycle their attention from right to left, which is why you will hear many Guardians referring to the boss, the signs, and the wheels as 1 to four, and from right to left.

Image: Bungie via Polygon
There are various strategies you can employment here, but generally, the easiest way forward is to set the symbols in the following order:
Doing this will give you as much breathing area as possible, and having Kill in the final slot (the 1 on the far left) seems to grant the most time for the harm phase. Doing harm is rather simple, you can attack any of the 4 Shriekers and they cannot be killed individually, so choice a mark and focus all your fire there. A good strategy for avoiding harm is to hang back close the stairs at the centre of the room, which you can usage for cover.
As the Zoetic Lockset are a group of Shriekers, precision damage is your best friend. Sleeper Simulant, Queenbreaker’s Bow, or your another favourite Linear Fusion firearm will chew this boss up in short order. Gather your squad together, focus your shots on the critical place of 1 of the bosses, and chip distant at it until it dies.
Reaching the final encounter

Image: Bungie via Polygon
Once the Zoetic Lockset is defeated, you’ll request to open the exit door. Just in front of the loot chest, you’ll announcement a concave bowl in the floor. As you likely know, erstwhile Shriekers die, the spherical core drops to the ground and makes for a beautiful decent football.
You’ll request to go the long way as there are barriers on either side of the hole, so bring 1 of the balls to the back of the room, then coax it across the bridge. It should fall nicely into the dish, which will open the door to the next encounter.

Image: Bungie via Polygon
The journey here is little complicated, you should have small issue uncovering your way forward. Before long, you’ll come to the skeletal remains of a giant Hive worm. Go through the ribcage tunnel to enter a area with another light puzzle. If you made it through the first encounter, this part isn’t going to halt you.
You’ll find the sources of both lights on 1 side of the room, beside the symbols for Enter and Worm. simply bounce the beams to the matching symbols on the another side of the room to lower the barrier and proceed to the final encounter.
There is 1 last hurdle, as you find yourself in a area with a sealed door. There is no mechanics to open it, you simply gotta shoot the door. How much it opens is straight applicable to how much harm you do, so hit it with something reasonably powerful to open it full and walk through to the boss room.
Final encounter, Isolate Preservation and Kerrev, The Erased

Image: Bungie via Polygon
Our last task in the Sundered Doctrine dungeon is to take down Kerrev, The Erased. The final boss area consists of a large central room, with side rooms on the left and right. Kerrev has an invincible shield, which we will request to usage the mechanics to bring down. We’re back to utilizing light beams to illuminate circumstantial symbols like the first encounter, but there is simply a bit more brainwork active this time.
At the back of the central room, you’ll find a symbol wheel. There are six symbols on it, three on the left and 3 on the right. The first thing you should do is take note of these symbols. Take a screenshot, take a image with your phone, whichever is the most convenient for you to mention back to.

Image: Bungie via Polygon
Next, you request to find the Truthspeaker. They can spawn in either of the 2 side rooms, so do a fast search of both. To enter the area on the right, jump onto the rectangular structure that sticks out of the wall at an angle (much like the 1 at the very start of the dungeon). Standing on it will lower it, and you can walk through. You cannot usage this to return to the central room, you request to go through the tiny tunnel further along the connecting wall.
The left area is little convoluted, but the door should be damaged to open, like the door that got you into this encounter. Check both rooms and defeat the Truthspeaker to get a symbol. It will match 1 of the symbols on the wheel.
Light up the correct symbols

Image: Bungie via Polygon
This is the crucial thing to remember, whichever side of the wheel the Truthspeaker symbol is on, you must darken the symbols on that side, and illuminate the symbols on the other side. If the symbol is on the right side, you request to control off any lights on the right side, and turn on any lights that aren’t lit up on the left.
How you do this is rather straightforward — each of the symbols can be found in 1 of the 3 rooms, with a lens close that you can use. Here is where you can find each of the symbols, comparative to where you start:
- Witness – Far-left corner
- Hive – Far-right corner
- Guardian – straight right as you enter the room
- Pyramid – Ahead and to the left as you enter
- Traveller – Back-right corner
- Worship – Back-left corner
- Kill – Back-right corner
- Stop – Downstairs, under where the boss stands
- Give – Downstairs
- Drink – Far-right corner
- Light – Back of the room
- Darkness – Centre of the room
- Worm – Far-left corner
- Savathûn – Far-right corner
Take note of which symbols you request to turn on, and which ones you request to turn off. Then, go to those symbols and interact with the corresponding lens as needed. Many of the lenses will be locked down with Strand energy, for those you request to take out Unwritten Attendants to gain the Unwritten Empowerment buff, which allows you to destruct the Strand locks. Be careful, as each 1 you destruct will spawn a peculiarly nasty Threadling.

Image: Bungie via Polygon
Once you have the correct symbols switched on or off, interact with the main symbol wheel in the central area to input your answer. As shortly as you do, run for cover. This triggers a massive burning effect which will rapidly kill you if you are out in the open. usage the shadows of the structures in the area to find a safe space, and wait until the burning dissipates.
If your symbols are lit up correctly, the boss’ shield will have burned away, and you can start dealing damage. Kerrev is simply a squirrelly customer, so you’ll request to keep up as he moves around the room. A large way to maximise your harm here is to usage Divinity with a couple of Linear Fusion Rifles or device Guns for massive critical damage.
You’ll only have a short while to deal harm before Kerrev’s shield regenerates. erstwhile that happens, repeat the steps precisely as you did before to trigger another harm phase. Repeat the process until Kerrev is dead, and the Sundered Doctrine dungeon is complete.
Fingers crossed you were rewarded the dungeon’s exotic, Finality’s Auger — but if not, the erstwhile link delves into ways you can improve your drop rate.


